First Time Farming

Like Banana Bread, sourdough bread, and whipped coffee. I have been getting on certain bandwagons for the first time. All of them require some troubleshooting.
That includes creating my own little backyard farm.
I’m lucky enough that we have been still able to get the food that we want without having to go to the store but I know that could change quickly. Most of us hear about the supply chain disruptions causing untold effects on how and when we can have the food we want when we want it.
So I’ve been trying to practice self-reliance and making a garden for my family and I. It’s been a learning experience. Victory gardens are not as easy as they look when you think about all the factors that need to go right to get quality crops to harvest.
So you’ll see me troubleshooting and sharing my experiences, what I’ve learned, hacks, what works what doesn’t. I’ll be updating with progress photos along the way.
First project: Gallon Bucket Potatoes
Using 5-gallon buckets instead of a raised bed has many benefits. Containers prevent rabbits, weeds, and is easier to harvest instead of digging through the garden or a raised bed. They are extremely durable and are easier to move in and out of the sun.

What I used & why:
Seedling potatoes - these you can buy specifically for planting or organic potatoes that aren’t sprayed with chemicals. When they sprout eyes from them you can cut them into pieces with 2 eyes on each piece and dry them out to callus over.
5-gallon buckets - you want food grade buckets free of chemicals
Peat Moss - holds in nutrients so they won’t be washed away when water
Top Soil - enriched with 100% organic compost
Black Kow Manure - millions of microbes adding dense nutrients to your soil
Bone Meal - slow-release phosphorus and calcium
Organic Fertilizer- dilute in water to fertilize vegetables every few weeks
Steps:
1.) Lay your seedling potatoes in the sun so they don’t grow mold or rot for 2 days.
2.) Take your 5-gallon buckets and drill holes in the bottom for drainage
3.) Mark the buckets on the outside with 3 lines
4 inches from the bottom (this is where you’ll place the seedling potatoes eyes up)
14 inches from the bottom (where you’ll fill the bucket up with soil mix)
16 inches from the bottom (where you will water up to so buckets is completely submerged)
4.) Mix your Black Kow Manure, Top-soil, and Peat moss in equal proportions with a shovel
Fill the buckets to the first line
5.) Add 2 seedling potatoes per bucket with eyes facing up, they will grow upwards and sprout from the top of the bucket, and potatoes will grow in the middle of the bucket over 4-6 weeks. (Only two per bucket so they don’t crowd and they can produce larger potatoes)
6.) Fill the bucket with mixed soil to the second line
7.) Top with 1/4 cup of Bone meal
8.) Water until the water level rises to the third line
You want the buckets to be elevated so they can drain out the bottom. Buckets should get 6 hours of direct sunlight. Check the soil so that the first 2 inches are moist every week or five days if warm climate. Fertilize again with a diluted water mixture in two weeks.
In a few weeks, I’ll check back in to tell you about “hilling”
Second project: Regrow from scraps
Store-bought green onions, celery, lettuce, cabbage, Bok Choy, Cabbage, Leeks, onions, and carrots. Don’t throw away the bottom!
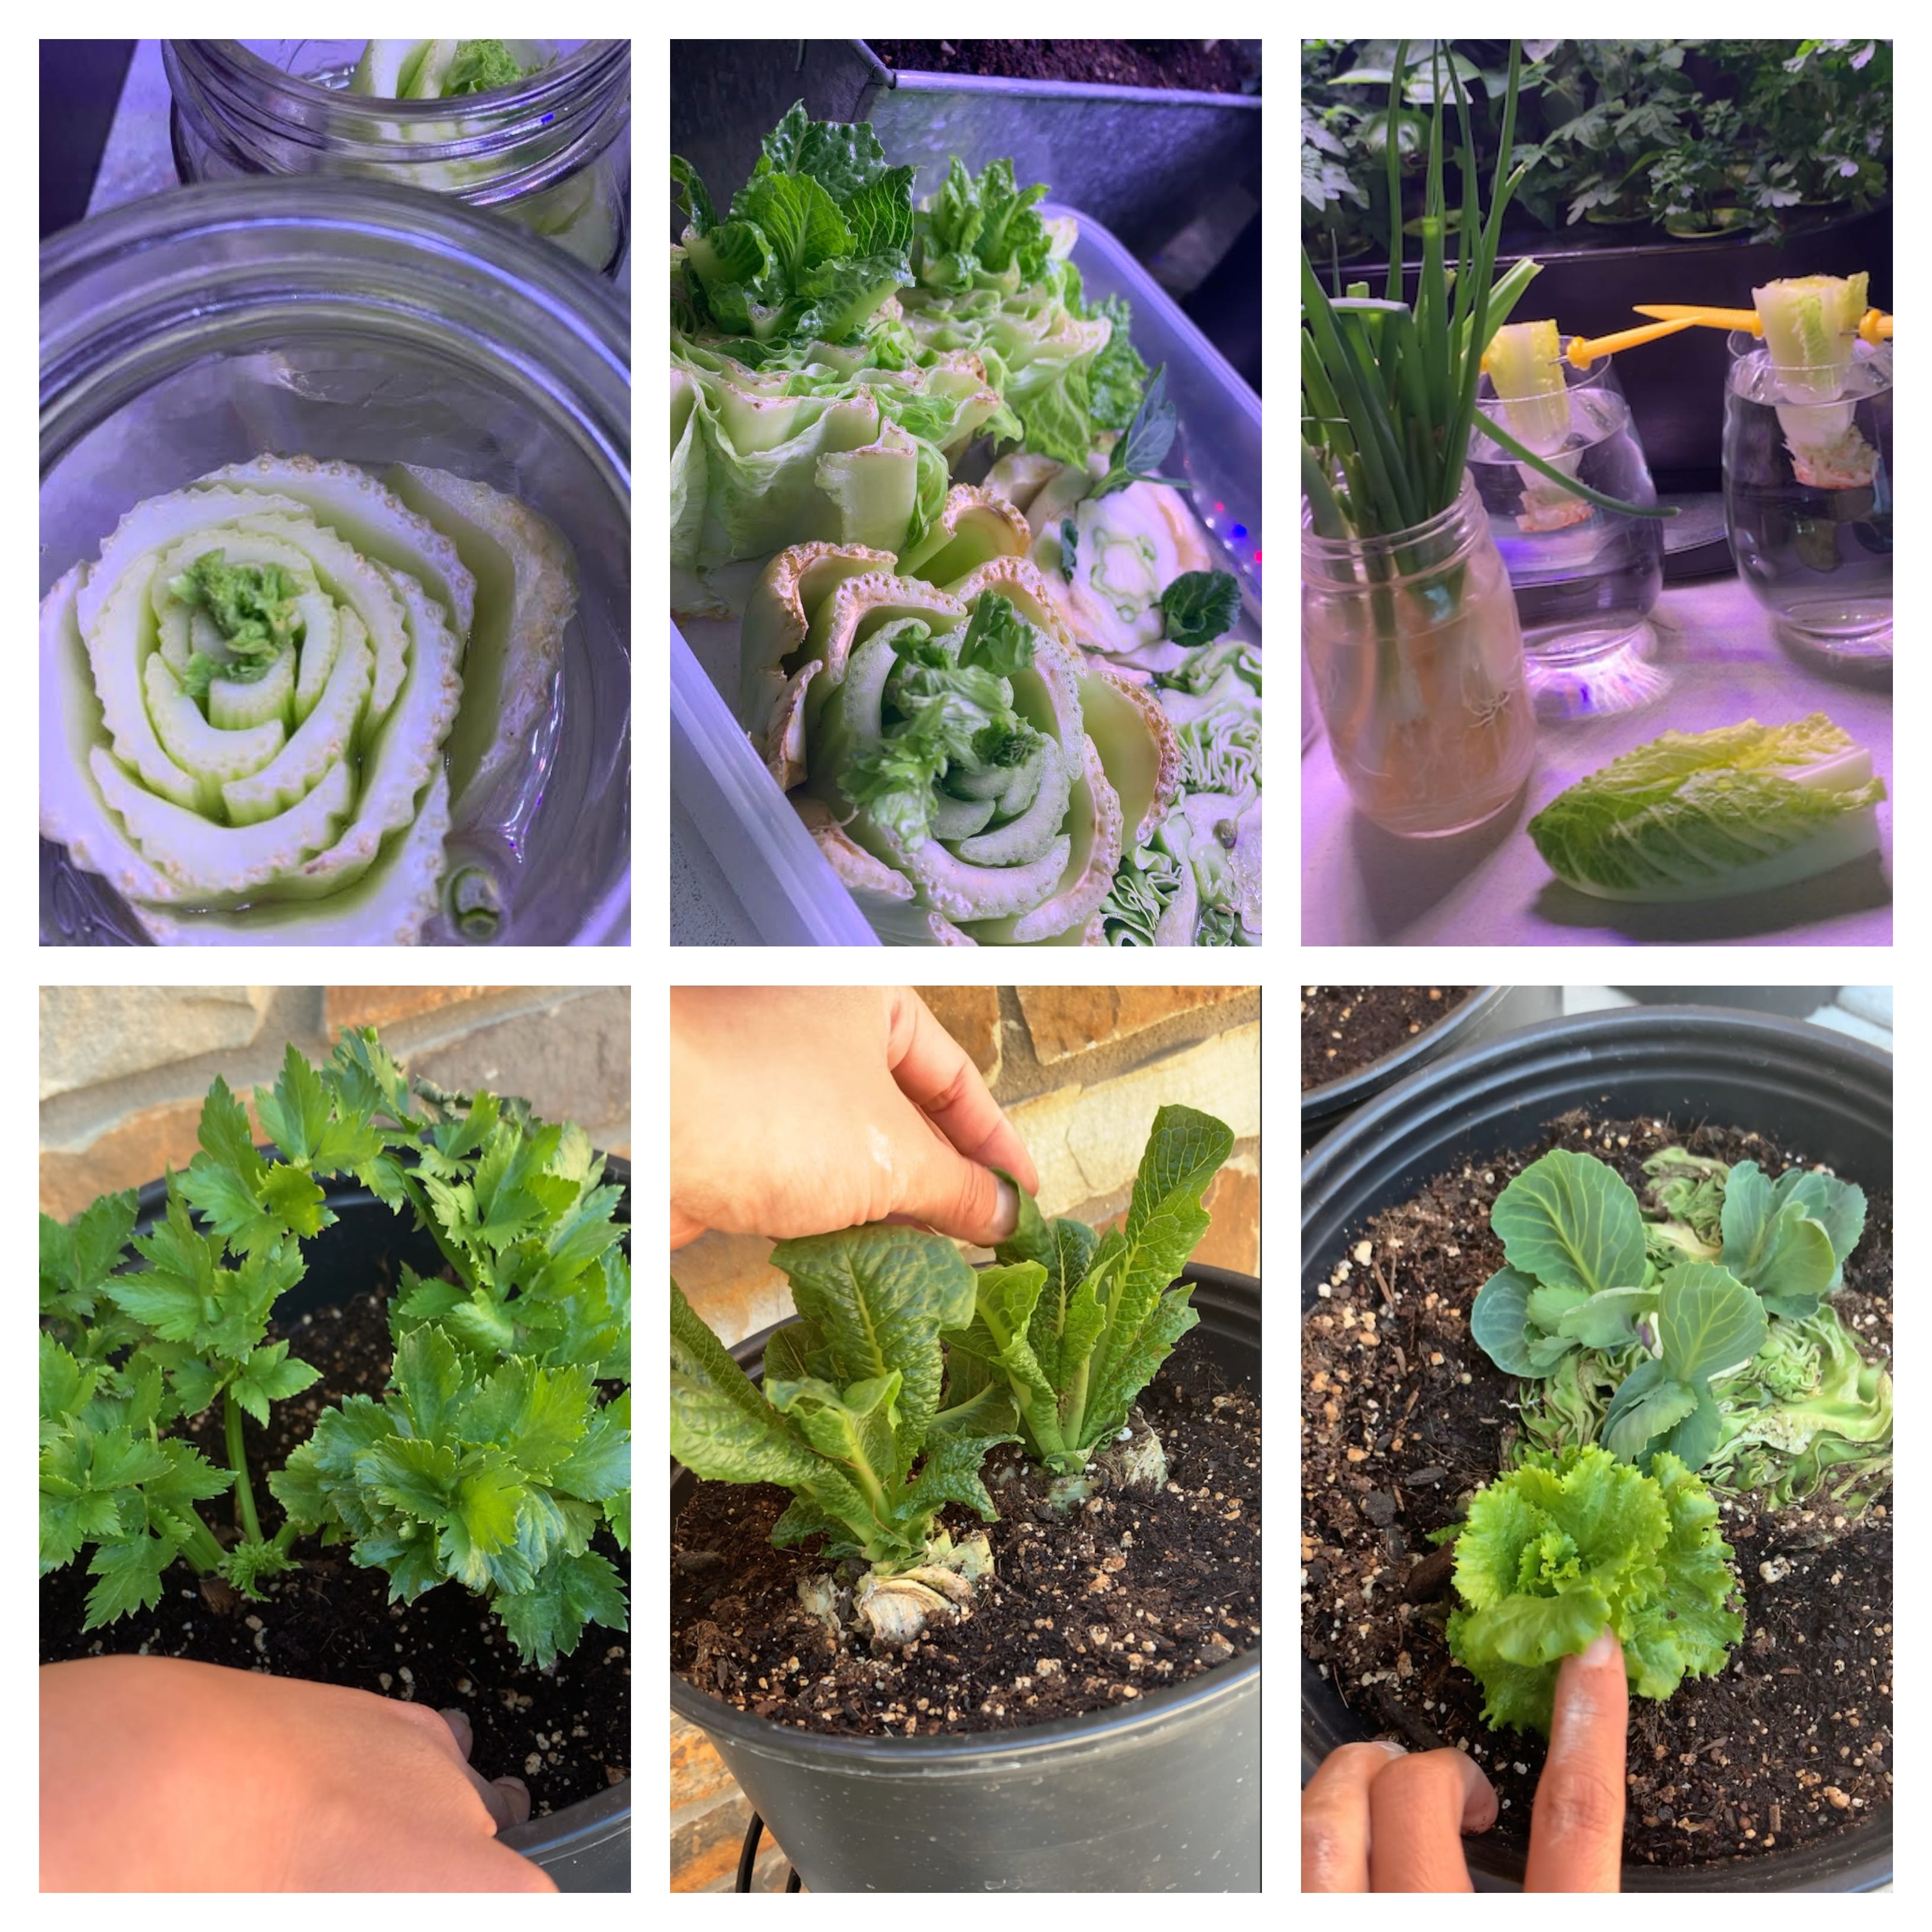
1.) Cut 5 cm from the bottom of any of these vegetables and place the base submerged in water for 10 days
2. ) Replace the water every day and try to use filtered water free of chemicals
3.) Place in sunlight or under a grow light for 8 hours a day
4.) After 3-4 days leaves will start to sprout out and roots will emerge from the base. The older parts might start to decompose but it’s okay you’ll be planting them soon.
5.) After 10 days you can then transfer them into pots ( I use 3- gallon containers with drainage). These vegetables don’t need to be planted deep you should still be able to see the new leaves coming in at the top of the pot.
6.) Place rocks in the bottom to allow drainage and fill with potting soil mixed with fertilizer.
7.) Water heavily every day. They will need to adjust to the soil since they used to live in water. Try to keep out of direct heat or sunlight on really sunny days above 95 degrees this can make your plant bitter or kill them. So on hot days partial sun or half-day of the sun is best.
Next on my list:
Third project: Hardening and transplanting from aero garden
I’ve been growing tomatoes, jalapenos, and herbs like cilantro and basil in my Aerogarden. It’s super easy but I want to harden them (expose them to outside natural light and wind) and move them into containers eventually. I will do this slowly after my first harvest.

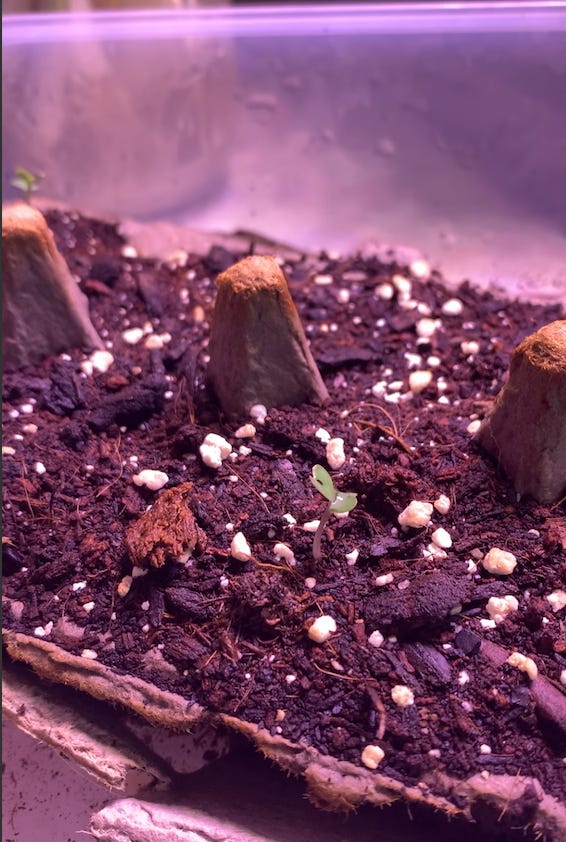
Making my own compost & using old egg cartons for seedlings & saving seeds
Bananas
Eggs
Coffee grounds